fbpx
Pirate Treasure Chest DIY Kids Crafts
Peilin

Peilin

Treasure Chest DIY Craft for Pirates

Ahoy there, matey! What pirate bounty would you stash in your treasure chest?

Yohoho and a bottle of rum, the pirate’s life for me! We’ve been consciously thinking of ways to reuse the many plastics from grocery shopping and thought of this gem of an idea! This treasure chest DIY craft can be a secret holding place for your child, or a money bank for real coins!

On the art side, painting is a great way to learn how colours interact and how each layer of contrast gives depth. We found it therapeutic painting together and seeing how differently our boxes turned out, even though we used the same base colours.

Materials for Pirate Chest DIY Craft:

  • Plastic fruit box x 1
  • Acrylic paint – Dark Brown, Black, White, Green, Yellow
  • Paint brush (medium size)  x 1
  • Paint palette  x 1
  • Container for water
  • Newspaper to protect your table
  • Penknife
  • Glue
  • Cardboard (optional)
  • Faux leather straps (optional)
  • Small lock or gold-colored sticker (optional)

Directions for Treasure Chest DIY Craft:

  1. Clean the plastic fruit box and dry completely. These are found in supermarkets containing apples or grapes .
  2. Lay newspaper over your work area to prevent stains from paint splatters.
  3. Place a knob of on your palette, keeping each color spaced apart. You’ll likely need more dark brown, compared to the other colors.
  4. Start painting with the medium sized brush with broad, straight strokes. Don’t worry if the paint isn’t sticking fully to the box surface. You’ll need to do a few layers, which will give the look of an old wooden chest.

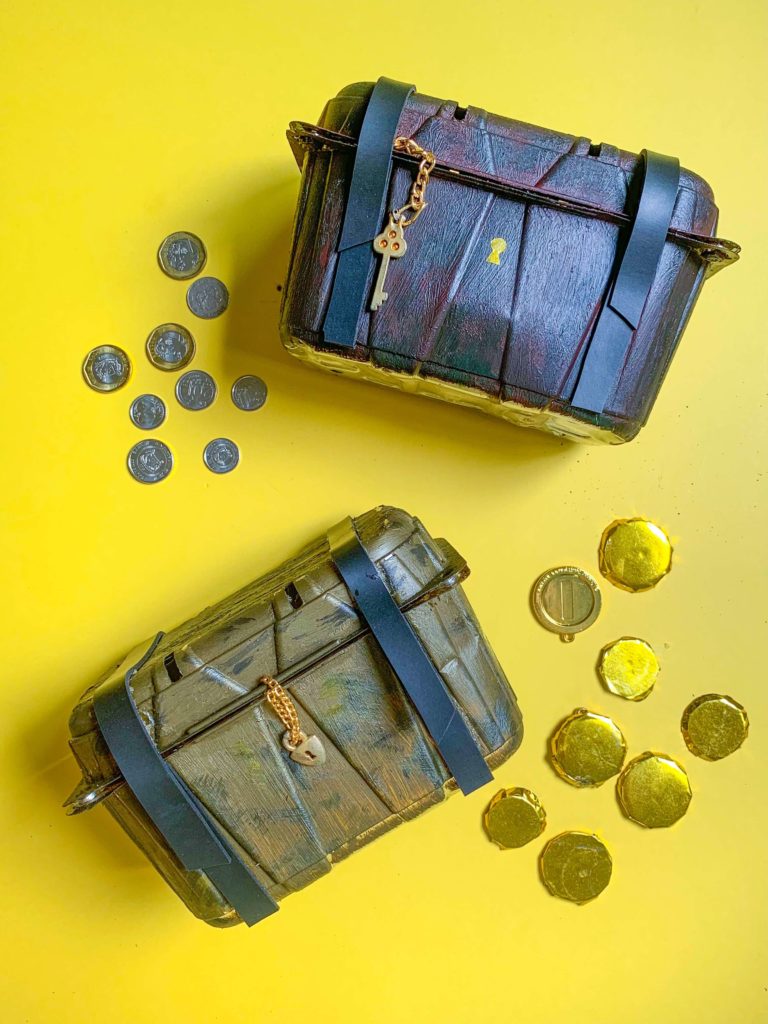
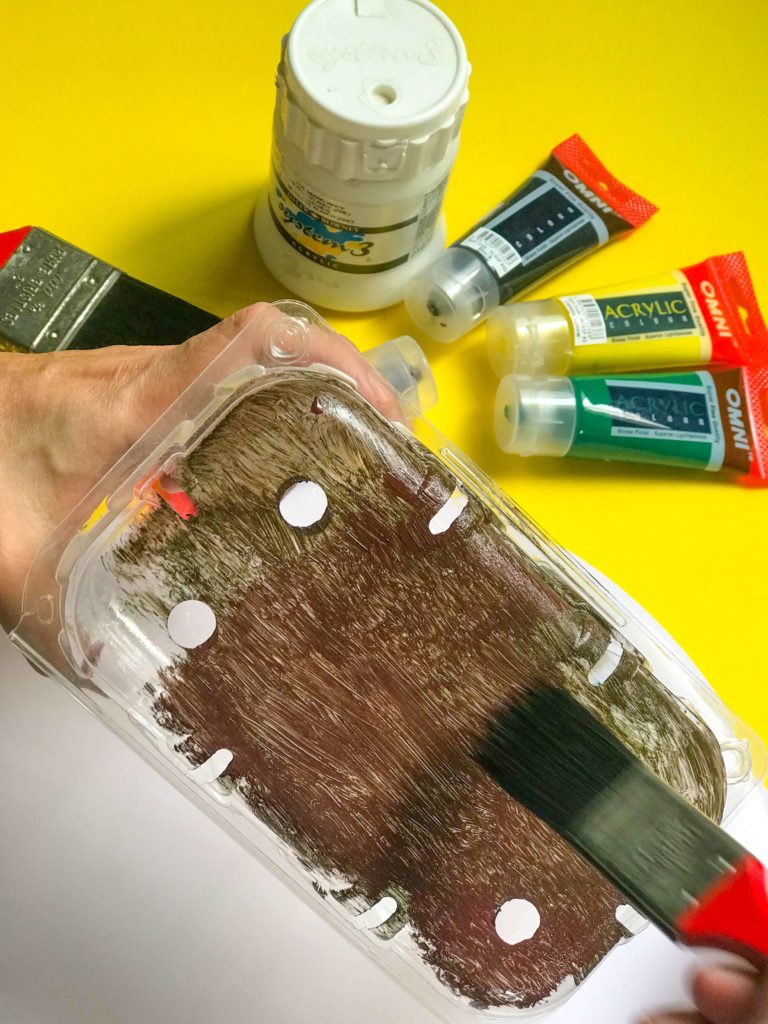
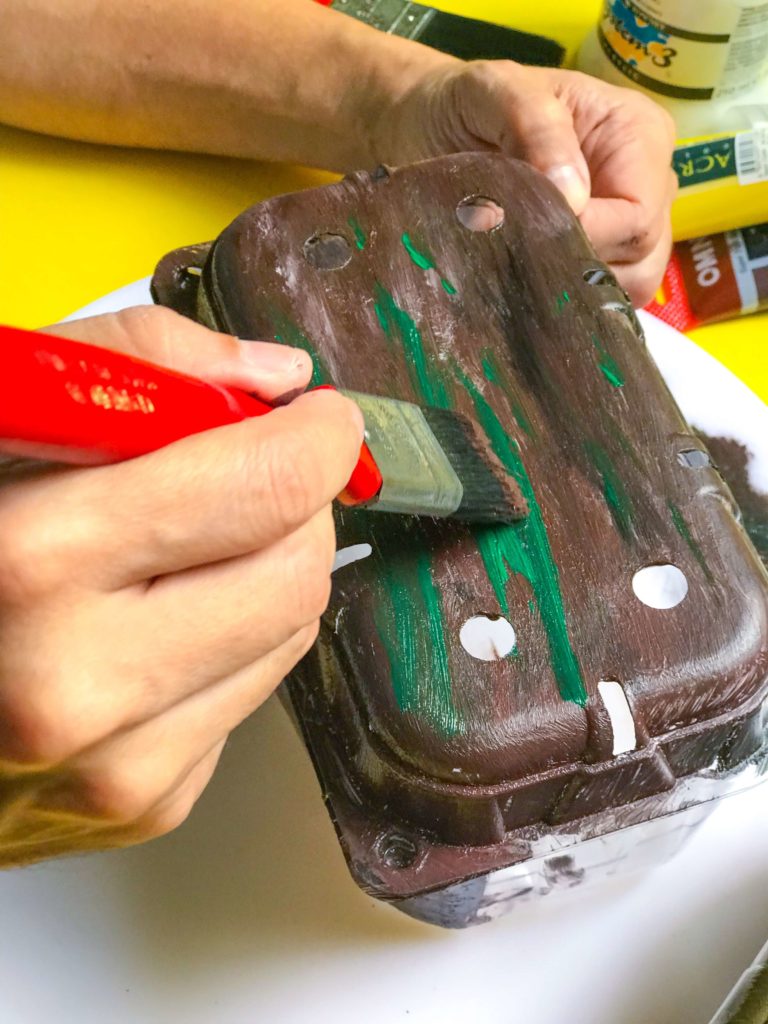
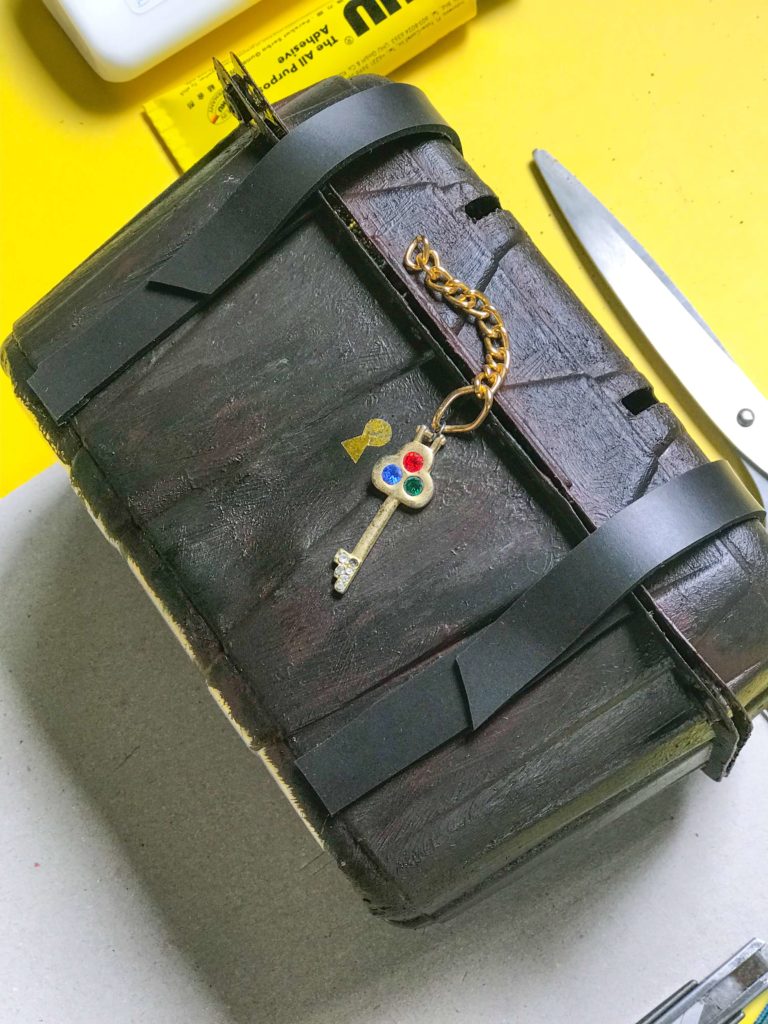
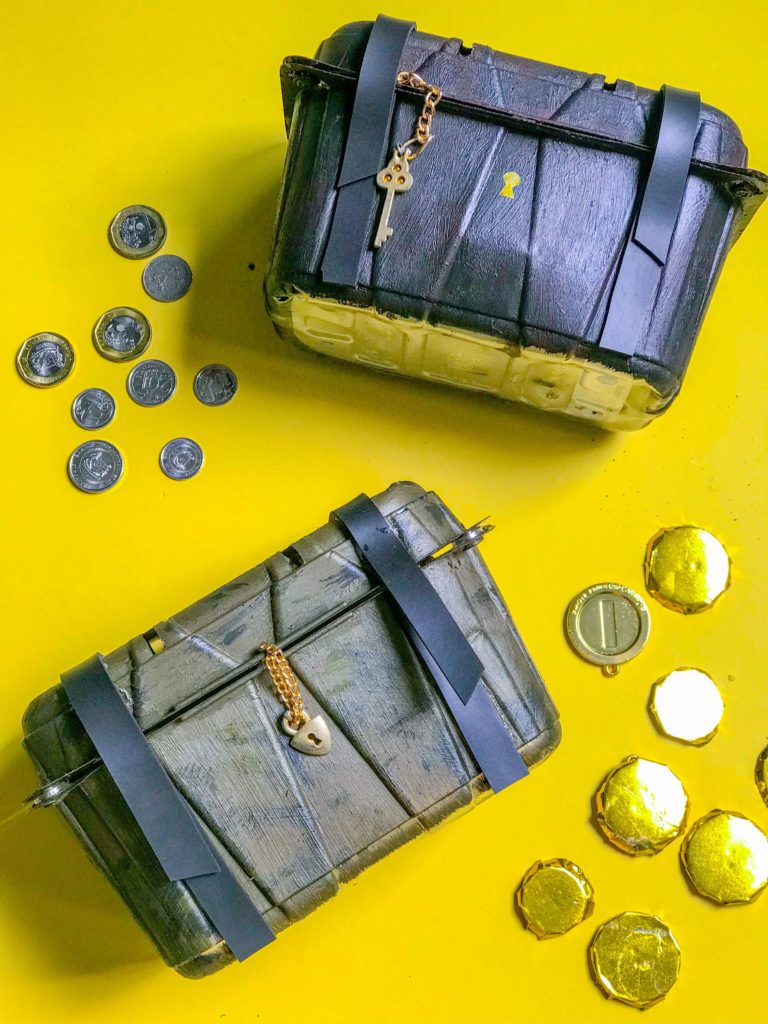
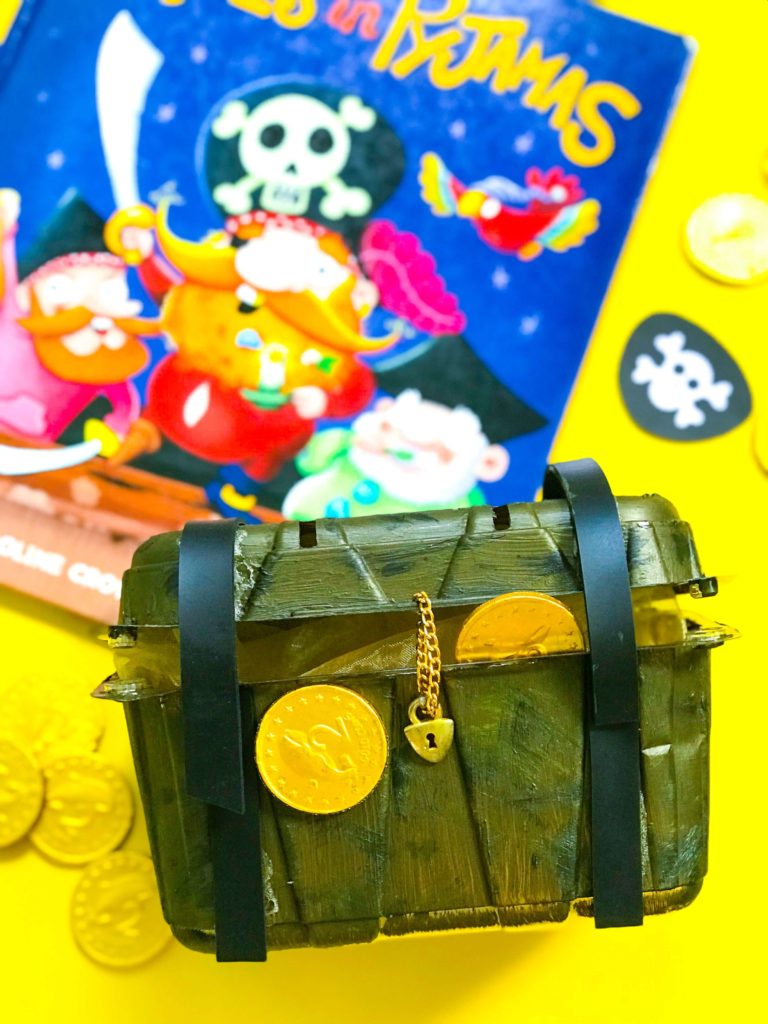
5. To create the texture or look of old wood, mix the various colours when painting the layers. Have fun with this with your child! You’ll discover how to infuse your treasure chest with a unique one-of-kind texture. We’ve made ours a dark brown tone with black edges. 

Pro Tip: You may need to let some painted surfaces dry before continuing to paint other sections. One way to work on different areas is to hold the box from the inside or slide a stick though the holes.

6. Layer with thin coats of paint till you’re happy with the effect.

7. Set aside to dry.

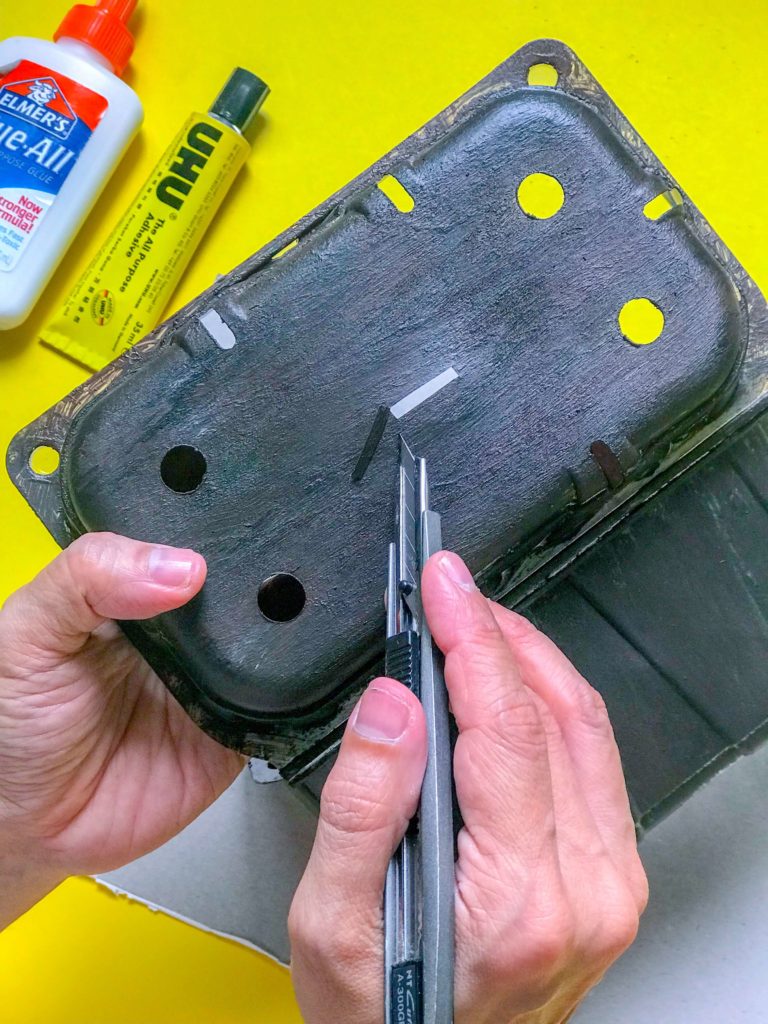
8. Once fully dry, place the box with the inside surface of the lid facing you.

9. Slit an opening in the middle of the lid with a penknife. This slot is for the coins.  Adults should handle the penknife.

10. Cut strips of faux leather and paste them on the lid. Alternatively, use black masking tape.

11. Trim a piece of hard cardboard and glue down to the bottom of the plastic box.. You can use cardboard from an old cereal box for this. This gives your treasure chest more firmness to hold the coins.

12. Cut out a small keyhole shape from the gold sticker and stick at the front of the box. Alternatively, paint the keyhole using gold paint or marker.

Shiver me timbers, you have your own DIY treasure chest coin box!

This is a great activity for pirate parties, which you can follow up with a treasure hunt! We’ve had several parties with this theme and children love running around looking for coins and other precious kick-knacks. This is also a great way to introduce the concept of saving with your child.

Have fun making this with your child! Do tag us at @PositiveLeePeilin on Facebook or Instagram or use the hashtag #PositiveLeeDIY.  We love seeing your crafts!

Bonus treasure: We share our top three books about pirates here! My favourite book is the rhyming one about pirates in pyjamas!

PS: 19 September every year is International Talk Like A Pirate Day! Here is some pirate lingo which you use with your child or even adult friends!

Share this post